How to Go Live on OnlyFans
Through livestreams, creators have a fun way to meet their audiences and make money at the same time. Going live can feel a bit frightening for people who are new to streaming. No need to fret; we’re here to teach you how to go live on OnlyFans as well as how to have great success with your streams.
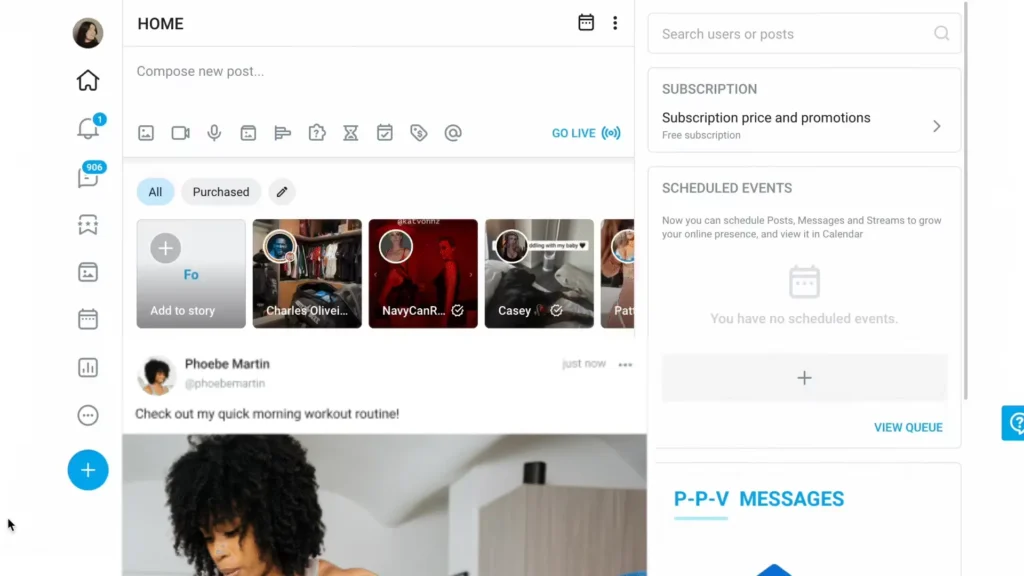
The simplest way to go live on OnlyFans is through your mobile or desktop web browser. On iPhone/iPad, we suggest using the Safari browser. For Android devices, we recommend Chrome.
If you’re using a desktop or laptop computer, check out our list of recommended browsers.
- Select ‘New Post’
- Select the ‘Go Live’ Icon
-
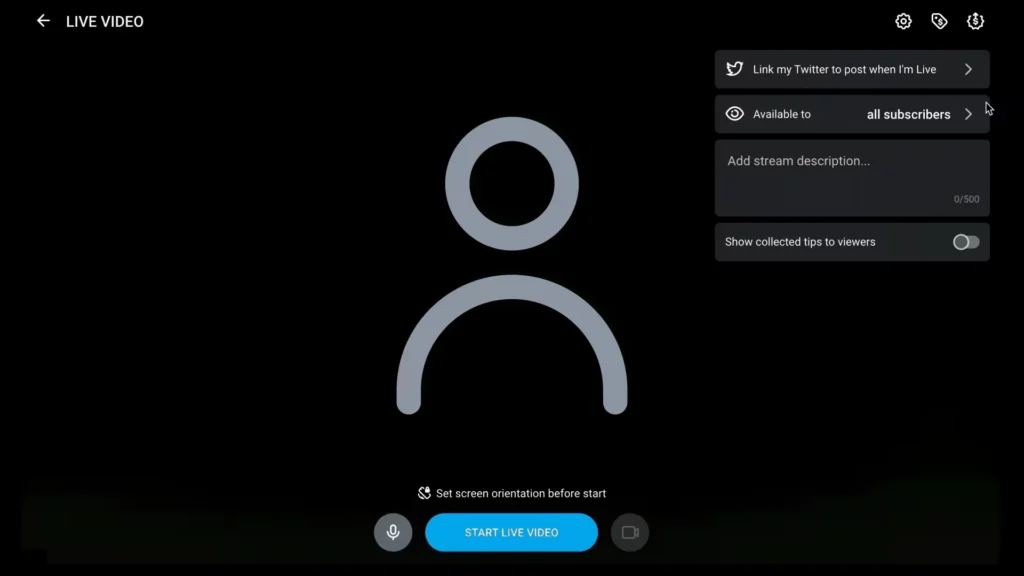
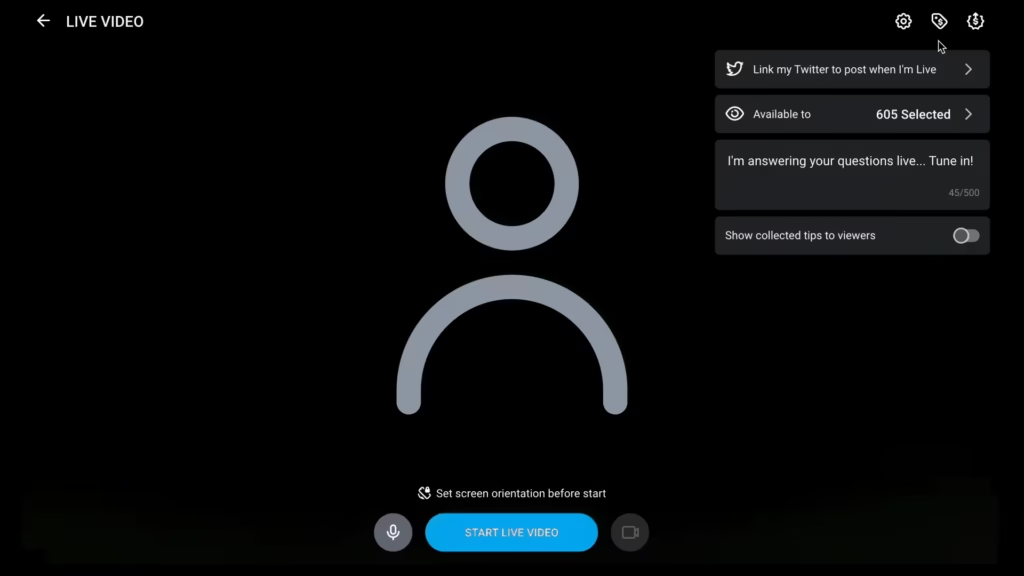
Pick Your Audience
Under ‘Available to’, you can select which subscribers can see your livestream and which you’d like to exclude from participating. -
Write a Description
Write a short description of your stream that will grab your fans’ attention.
-
Offer Your Price
Setting a low entry price of $5 is available to free OnlyFans creators who offer stream access. Select the price tag icon and set your Live Video Price. -
Add a Tip Goal
Anyone hosting a stream can decide on a tip goal (and optional reward) for their viewers. Enter your target, what your viewers can get as a reward and decide if the tip goal is visible to them. -
Hide or Show Collected Tips
Choose if you wish for your stream’s audience to be able to view your collected tips during the broadcast.
-
Press ‘Start Live Video’ to Begin Streaming
Keep an eye on your screen throughout your stream.A red circle means your internet connection is weak, which could result in a bad viewing experience for your fans.
A yellow circle means your internet connection is average.
A green circle means that your connection is strong enough for high-quality streaming.

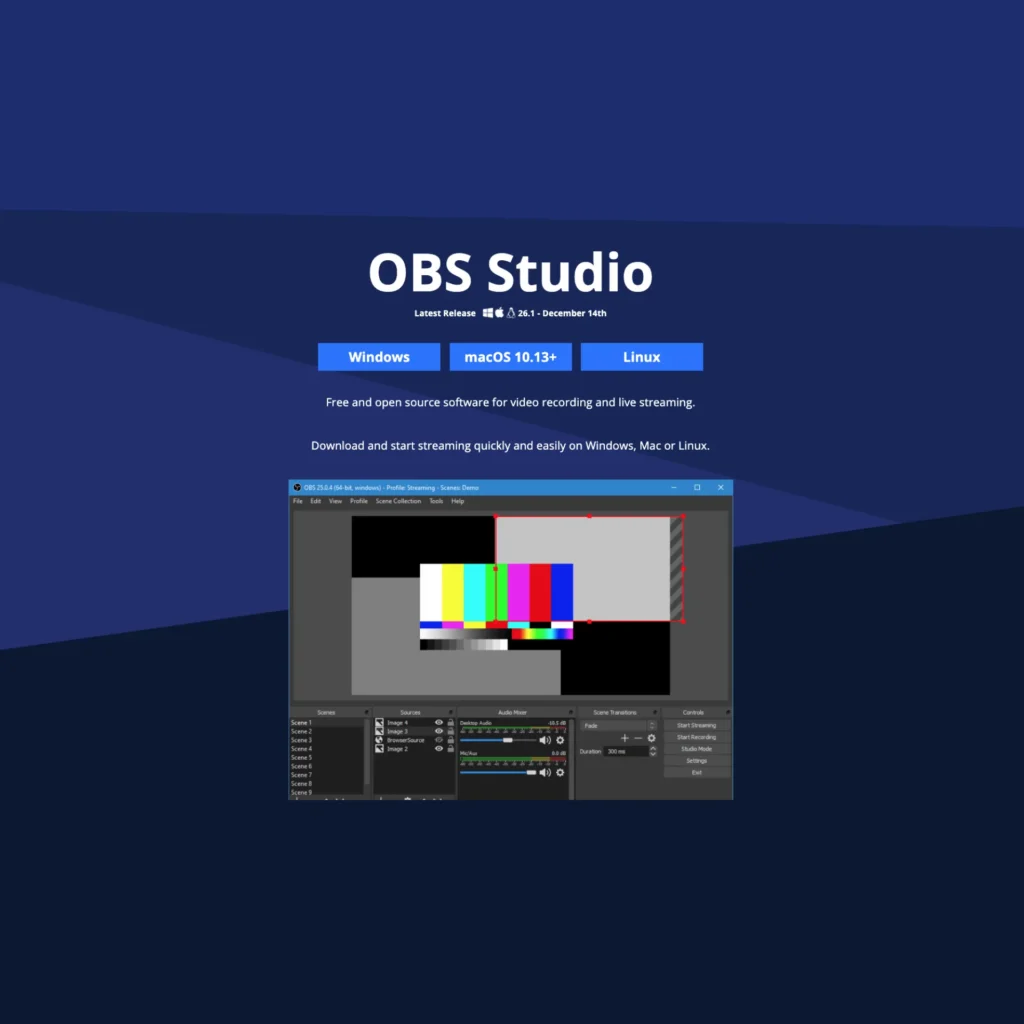
Stream Using OBS
Most seasoned streamers use Open Broadcaster Software (OBS) to take care of their streams. OBS is designed perfectly to work with OnlyFans’ live streaming service.
If you want to go live on OnlyFans, here’s the process using OBS.
- Download OBS Studio Go to the official OBSproject.com website and find the version suitable for your operating system (Windows, Mac or Linux).
- Follow the Default Settings Open the software, and follow the prompts to give OBS to access your camera and microphone. Finally, confirm that you would like OBS to optimize for streaming and recording.
-
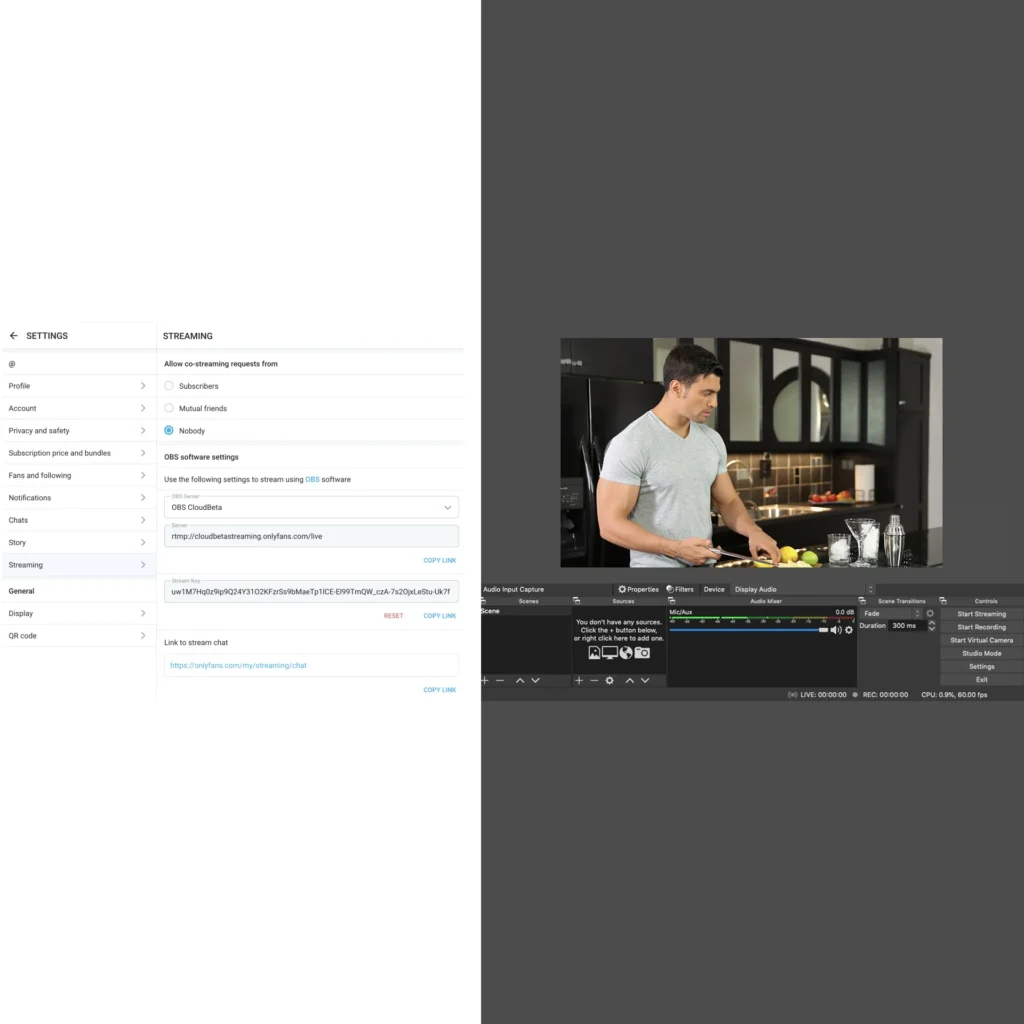
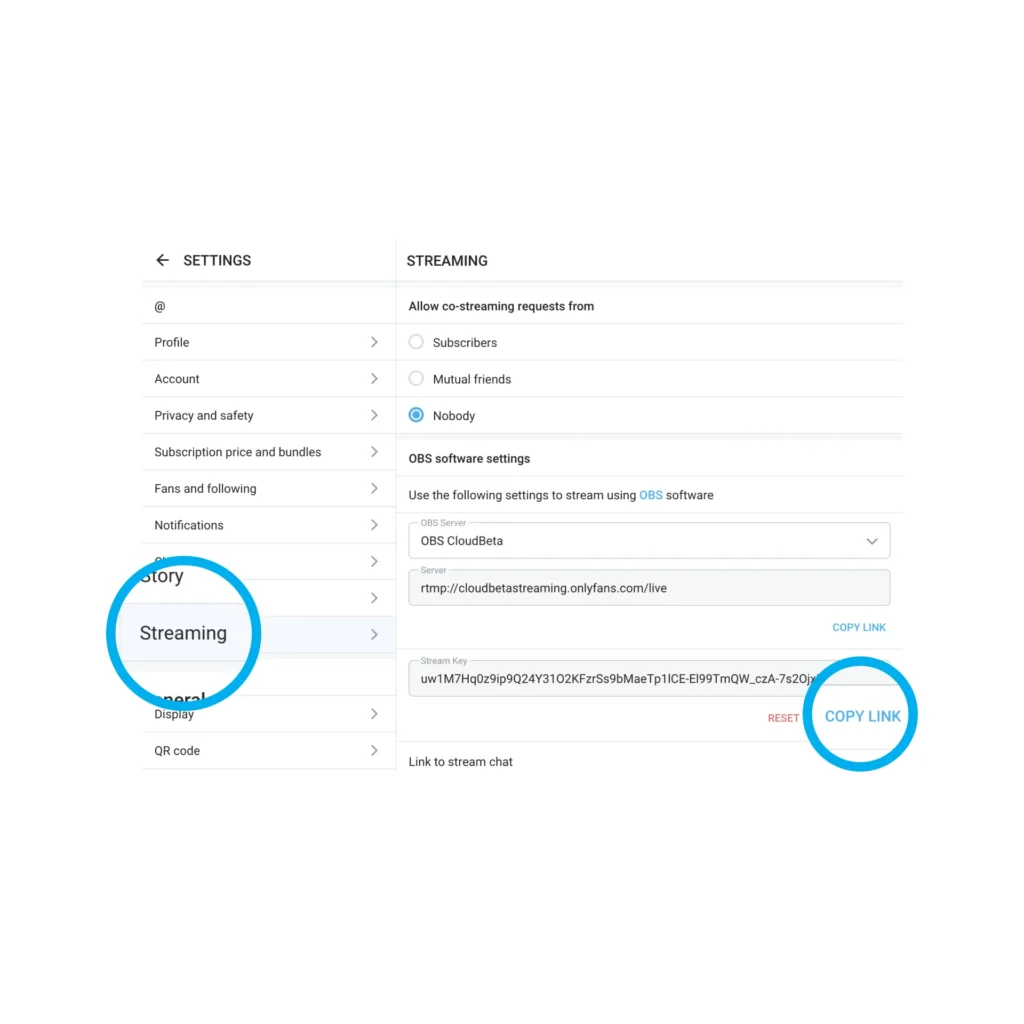
Copy Your Stream Key from OnlyFans
Log in to OnlyFans, visit ‘Settings’, pick ‘Streaming’ and copy the stream key under ‘OBS software settings’.
-
Enter Your Streaming Info
Go to the dropdown menu labeled ‘Service’ under OnlyFans in OBS and paste the stream key into the box afterward. to go to the next step.

-
Add Your Video and Audio Sources
Make sure you add your video and audio sources on OBS.>.
-
Select ‘Start Streaming’ on OBS
Once everything is set up, click the button in OBS to begin your broadcast.
-
Follow the Link on OnlyFans
Return to the ‘Streaming’ area on OnlyFans and click the link that says .
-
Keep OnlyFans Open
Arrange both OBS Studio and OnlyFans so they are next to each other.This lets you handle your OBS stream while monitoring viewer comments on OnlyFans.